UK Beach Safety Checklist for Beginners: Flags, Rip Currents and Cold Water
The first time you walk onto a British beach in July, the sea looks more inviting than it is. Water around our coast often sits in the low teens even in high summer, and the calm stretch between the red and yellow flags can hide a current moving faster than most people can swim. None of that means staying up on the sand. It means walking in knowing four things: what the flags say, where the rips run, what cold water does to your body in the first minute, and who to call when something goes wrong.
Read this once before you go. Skim it again on the drive down.
Lifeguard flags, decoded
Between May and September, the RNLI patrols hundreds of UK beaches, typically from around 10am to 6pm. Outside those hours, or on an unpatrolled beach, there are no flags, no rescue and nobody watching from the clifftop.
When a patrol is on, the flags tell you where it is safe and, more usefully, where it is not.
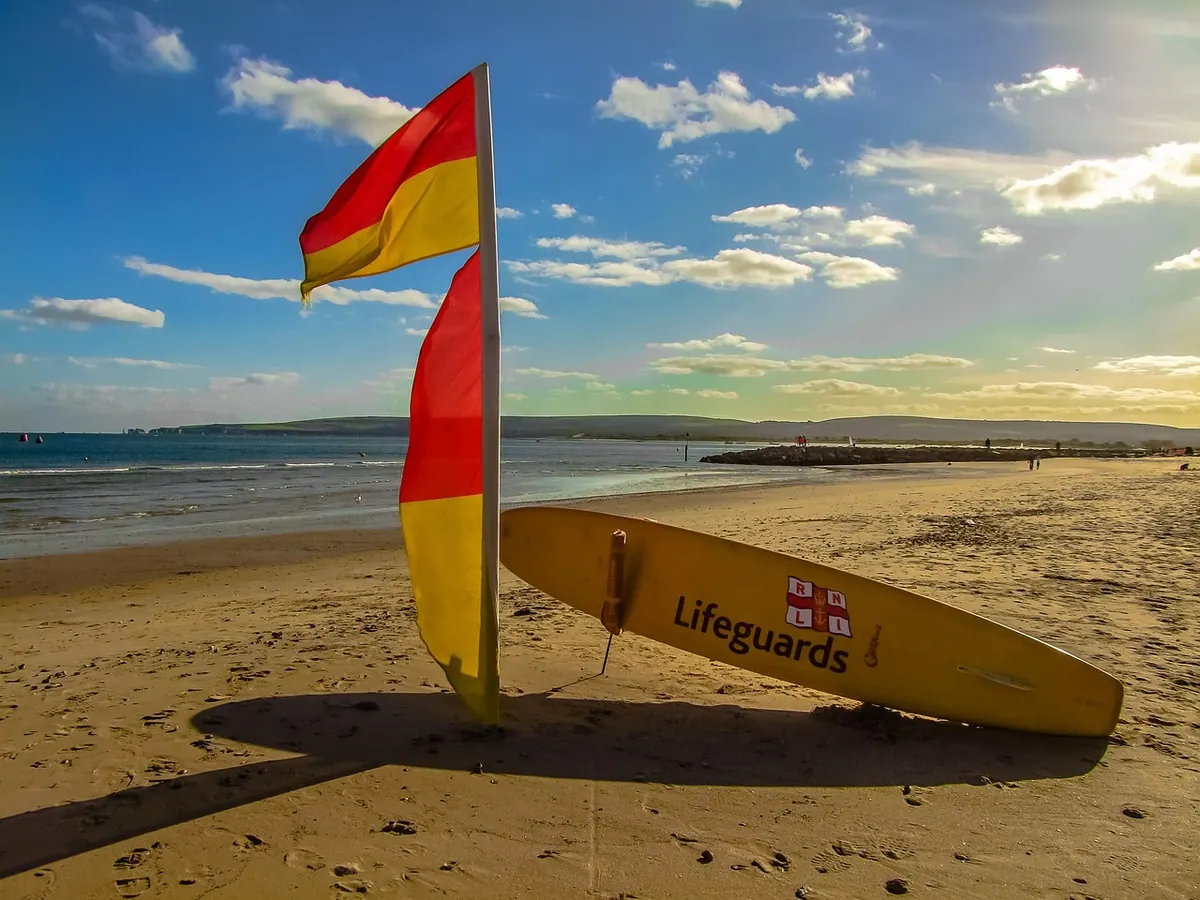
- Red and yellow flags: the patrolled swimming area. If you intend to swim, this is the only place to be.
- Black and white flags: a zone for surfers, kayaks and paddleboards. Not for swimming; you will be in the way, and boards hurt.
- Red flag: do not enter the water. Conditions are too dangerous, whatever they look like from the promenade.
- Orange windsock: not a flag, and the one people ignore most. Offshore winds will carry an inflatable out to sea faster than you can swim after it. Leave the dinghy in the car.
Pick the beach, then pick the hour
Two decisions matter more than any kit you buy. First, choose a lifeguarded beach; the RNLI website and council pages list them by county. Second, check the tide before you set off, not after you have parked. A wide stretch of sand at 9am can be gone by 11, and the classic route into trouble is walking out along a spit at low tide and turning round too late.
A few other habits worth building:
- read the noticeboard or the lifeguard hut board for local warnings;
- swim with someone who is actually watching, not someone scrolling on the sand;
- keep small children within arm's reach — a drop-off or a rip can take them out of their depth in seconds;
- leave the pub lunch until after the swim.
Rip currents: reading the water
A rip is a narrow channel of water heading out to sea, formed where water piled up by waves finds a way back out — through a gap in a sandbar, beside a groyne, along the side of a pier. Rips do not drag you under. They pull you out, and then panic and exhaustion do the rest.
You can often spot one from the beach if you look for the patch that does not fit the pattern:
- a gap of darker, deceptively calm water where waves are breaking either side;
- a line of foam, sand or seaweed moving steadily seaward;
- choppier, more disturbed water between two smoother bands.
If you are caught in one
Do not try to swim straight back against it. A rip can move faster than a strong swimmer can sprint. Instead:
- Float. Roll onto your back, keep your head above water and breathe. Float to Live is the RNLI's advice for exactly this moment; it buys you time and calm.
- Signal. Raise one arm and shout if there are lifeguards or other people nearby.
- Swim across, not against. Move parallel to the shore until the pull eases, then angle back in with the waves.
Cold water shock: the first minute
British sea temperatures rarely climb far past the mid-teens, even in August. Cold water shock is the involuntary gasp and rapid breathing that hits when cold water reaches your skin, particularly your chest and the back of your neck. That gasp can mean a mouthful of water before you have decided anything at all.
The answer is simple and counter-intuitive: float first, get your breathing under control, then work out what to do next. Do not strike out hard in that first minute — it is when most trouble starts. If you are going in deliberately, wade in slowly, splash water on your face and wrists, and let your body adjust before you duck under.
Afterwards, keep warming up: towel off, layer up, take a warm drink, and watch for numbness, confusion or slurred speech. Those are reasons to seek help rather than push on. If you have a heart condition, or any other health worry, speak to your GP before making cold-water swimming a habit rather than assuming you will be fine.
Emergencies: what to do, what not to do
If you are in trouble, or you see someone else in trouble, call 999 or 112 and ask for the coastguard. On a lifeguarded beach, alert a lifeguard first — they are closer and faster than any phone call.
If someone else is in difficulty, the instinct to jump in is the most dangerous thing you can act on. Untrained rescuers drown. Stay out of the water and:
- shout, and keep the person in sight;
- call for help;
- throw anything that floats — a life ring, a bodyboard, a cool box, even a football;
- keep pointing at the casualty so the coastguard can find them.
That last one sounds trivial. It is not. From a helicopter or a lifeboat, one steady pointing arm is worth more than a dozen people waving.
If in doubt, float on your back, control your breathing and wait for help. It is the single most useful thing you can remember on any British beach.
Your pre-swim checklist
- Lifeguarded beach, in season, within patrol hours.
- Flags checked: swimming only between the red and yellow.
- Tide times checked, with a clear route back to the top of the beach.
- Someone on shore knows where you are and when you expect to be out.
- Phone charged and in a waterproof pouch.
- No inflatables if the windsock is flying.
- Float to Live understood: back, breathe, arm up, wait.
Then go and enjoy it. The British coast is cold, changeable and worth the fuss, and a little preparation is what makes a swim memorable for the right reasons. If you are new to open water, start with short dips in a lifeguarded bay on a calm day and build from there. Where cold water, existing health conditions or medication are involved, take professional advice before you make it a regular thing.
Photo: diego_torres / Pixabay